I have to admit I’m pretty addicted to Pinterest! I can waste many an hour scrolling through, looking for fun and fresh crafts to do with my kids at home, and with the kids I teach. The painted mason jars, or preserving jars are really hot right now.
When I came across these fun and quirky painted storage jars I thought what a cool idea for sorting and storing kids stationery and craft supplies.
I also found these painted Minion reusable jars which would be a super-fun way to store kids bits and bobs too.
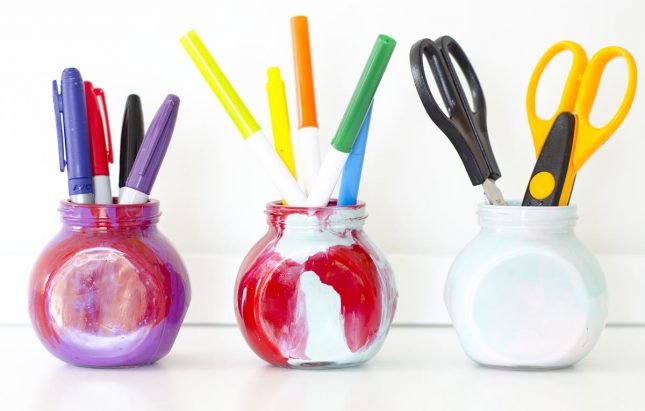
These painted jars ideas became my inspiration for the ones my daughter and I created. They were originally meant to have faces on them like the ones above, but when I’m creating with my miss 3 I like to let her take the lead.
This often means the final result I had in my mind, turns out to be something completely different. I also find, when I let little miss 3 take the lead, we end up with something more original, and in some cases even better than the first idea. This is our take on creating a painted jars stationery organiser.
My daughter came up with the design completely though her own freedom to experiment. I could have stopped her from using 2 colours (and believe me there was that little part of me saying, ‘no we don’t use two colours just one!’) but I put my own ego/self-conceived art ideas aside, and let her take the lead.
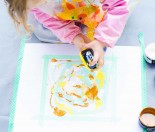
What she discovered was a cool marbling technique that fascinated her. She loved watching the colours move around and slowly blend together.
Letting kids take the lead when it comes to creating is such an important part of their development. Afterall, this is where innovation comes from right? It allows them to make choices, it gives them confidence. And when kids feel confident they feel safe to make mistakes and experiment with new ideas. This can lead to inventive new ways of thinking, which sets a child up for creative thinking in adulthood.
Painted jars stationery organiser
Materials you will need
Acyclic paint (we used Resene Pink Lace, Seance, Jalapeno and Riptide)
Jars with lids (some of our jars came from K-mart, but we also used recycled baby food jars)
What to do
Take the lids off the jars.
Take two of your chosen colours and pour them into the jar, one at a time.
If you want the colours to have a marbled effect use a long pointed stick and swirl the paint around on the bottom a little. This will mix the colours just enough to create a marbled effect.
Replace the lid on the jar and slowly swirl the colours around the jar, until the whole jar is covered. You may need to add a little more paint if the glass isn’t fully covered.
Once the whole jar is covered, place them upside down on a try so the excess paint drains out. Leave them like this for roughly 20 minutes.
Once the excess paint has drained out, turn them the right way up and let them dry in a warm place. They take about a whole day to fully dry out.
Have fun experimenting with your kids. We love to see your kid’s designs so feel free to hashtag #kiwifamilies on instagram or leave a picture of your child’s work on our Facebook page.


