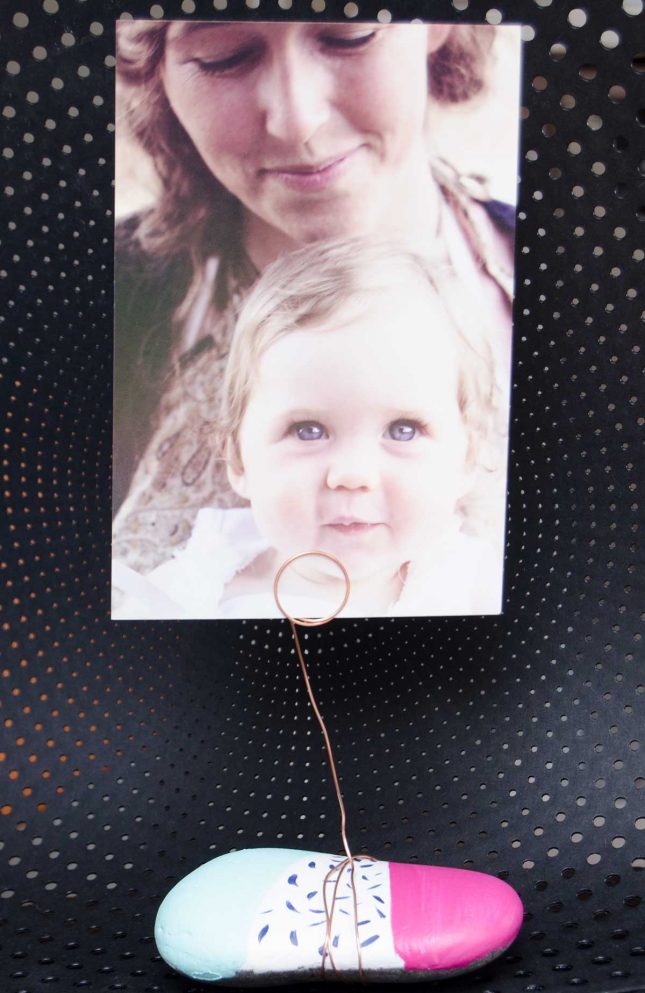
If your kids are into painted rocks, find out how to make a painted rock photo holder. The painted rocks craze has made painting on rocks pretty popular again. Every holidays at our place you’ll usually see my kids painting up a rock and hiding them around our local area.
Today however, I decided to paint some rocks we could use for a different purpose and perhaps even as a gift for family members. Rock photo holders are fairly easy to make, but if you have little ones you will need to help them out with the more fiddly bits.
If you or your children struggle with ideas on just what to paint on your rock, just search for painted rocks on Pinterest and you’ll have more inspiration than you can shake your paint brush at!
How to make a painted rock photo holder
You will need
Rock
Paint (for this project we used Resene test pots in Luck point, Scrumptious, Blanca and Riptide)
Copper Wire
Paint Brush
Scissors
What to do
1. After you’ve collected your rocks, give them a good wash. Kids always love playing in water so let them do this part!
2. To set up the painting area, cover a surface with newspaper, or a drop cloth if you have one. Make sure your kids have a jar of water to clean our their brush, and a couple of old clothes to dry their brushes on.
3. Paint your chosen rock all white. This is an important step so that your colours will be more vibrant. If you’re using white as one of your final colours I would suggest giving it at least 2 coats. Let the undercoat dry. If you need to speed up the drying process you could use a hair dryer.
4. Decide on your pattern and paint your desired pattern onto the rock. You could paint geometric shapes, flowers, mandalas, stars, emoji’s. The options are limitless, whatever you and your kids think looks good, will be right! Set your rock aside to dry completely.
5. Once your rock is dry wrap they copper wire tightly around the middle of your rock. Then trim the wire, leaving a long tag end. If your rock is an odd shape, you may not get the wire round tightly enough. If so, just add a drop of glue between the wire and the rock, to hold it firm.
6. Now wrap the cut tag end of the wire around a thick pen. This is where the photo will go. I wound mine around the pen 3 times, and poked the second and third rings back through the first one a bit. This gave a nice tight wrap that held the photos really well.
7. The last step is to place your photo into your painted rock photo holder. These would make a great Fathers or Mothers day gift, a handmade gift for your child’s teachers, or a gift for the Grandparents. You could even choose a special photo to go with it (Nana and Gramps will love it!).
For more great painted rock ideas, you should check out Painted rock ideas that rock.


