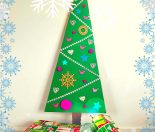
Wow what a year we have had. I don’t think anyone is going to forget about 2020 in any hurry. So as the year is pulling to a close and a new one is on the way my crafter’s mind turns toward Christmas and decorating the tree for a well deserved celebration.
In my own art practise I’ve been experimenting with using paint like you would for icing a cake. In experimenting this way it made be realise how much the kids would enjoy painting like this too.
Kids really enjoy experimenting with the pipping mix. But I will warn you it is a messy crafting session so set up your crafting station before you get the kids started. That means put some newspaper down, have some paper-towels at the ready for wiping hands and tools, and a bucket of water. I also use sheet plastic on the floor.
I would suggest this is not the type of craft you can set up and walk away from. Younger kids will need your help filling up the cake pipping bag. My kids are 4 and 7 and even my 4 year old had success and enjoyment doing the pipping with a little help.
DIY Christmas Tree Decorations
You will need:
Disposable cake pipping set (these can be bought from most supermarkets)
Wooden stars and circles (I got mine at spotlight)
Reeves 200ml modelling paste (you can get this from spotlight and warehouse stationary)
Glow in the dark glue in pink and Purple
A collection of colourful beads
Small bead letters
Paintbrush
Pipping bag and nibs
Resene test pot paints in Snap, Irresistible, Half Turbo and Wham
Ribbon
Pompom ribbons (I found mine at spotlight)
Hot glue gun and sticks
What to do:
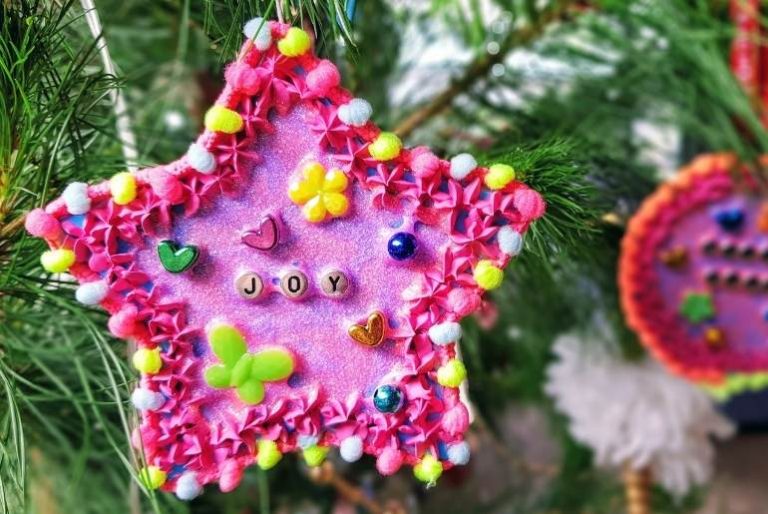
1. Get your children to paint the background of their star or circle first. Make sure to paint the front and back. We did a couple without painting the background first, but all decided that the painted background looked way better. My daughter painted her background in Irresistible and my son used Half Turbo and Wham.
2. While the paint is drying mix up about two tablespoons of Reeves moulding paste with a good dollop of Resene Snap. The moulding past will make the colour lighter.
3. Fill your pipping bag with the mixture. You might want to get your kids to have a little practise with the pipping bag just on a piece of paper first.
4. If you have older kids from around 6 and up, have them pipe around the edging of the wooden shape. For kids younger just go with wherever they want to pipe. They will be building some awesome fine motor skills just learning how to pipe.
5. You will need to leave the piping to dry for at least 24hrs.
6. Once the piping is all dry, grab your bead letters and decide what to put on it. We went with Joy and Merry Xmas and my daughter is going to make another one that says Merry Catmas, because her best friend loves cats. Which I thought was pretty cute! Using the Glow in the dark glue, stick your words on.
7. Now Fill in all around the words with the pink and purple glue until the whole inside is covered. Then grab your decorative beads and place them into the glue.
8.You will need to leave the glue to dry overnight before adding the pompoms around the edges and the backing. (You could also add the edging detail before gluing the centre, and leaving the whole thing to dry overnight).
9. Now that your decoration is dry, hot glue around half way around the outside of the circle. Making sure your start at the bottom. This is a job for an adult if you are doing this with young people. Then press your pompoms around and glue the second half and press down the rest of the pompoms.
10. Finally add the ribbon or twine at the back for hanging with your hot glue.
If you have enjoyed making this Christmas craft be sure to check our some of our other Christmas crafts. Or for hundreds more craft ideas, check out our Creative arts and crafts section.


